How should I apply antifouling?
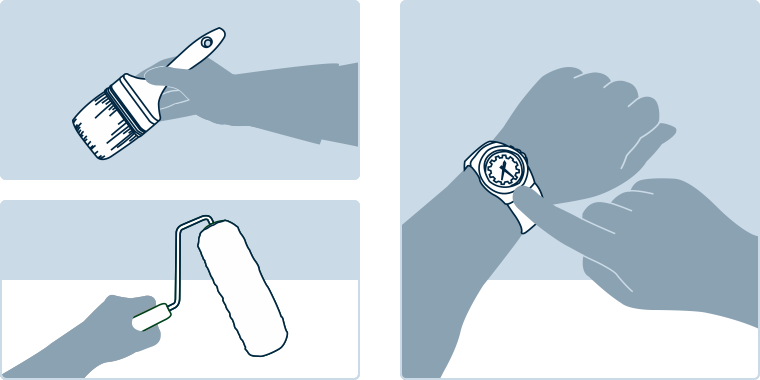
You can apply antifouling using a brush or roller. If you prefer using a brush, we recommend a large width brush. The type of brush you use isn’t that important as the finish will not be as smooth as a topside paint.
Step 1: Health and safety
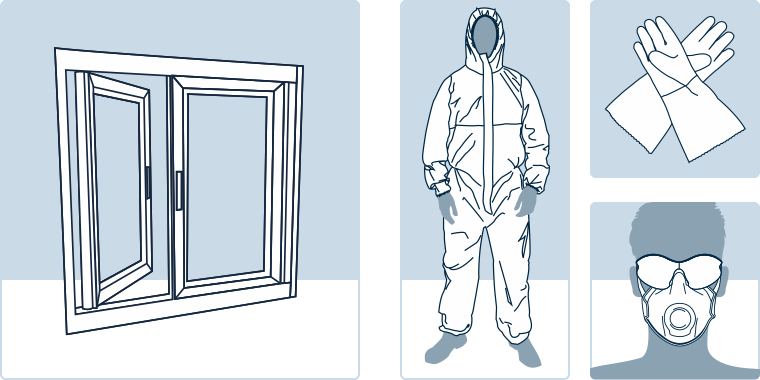
Before starting your preparatory work, please ensure the area you are working in is adequately ventilated. Ensure you are wearing the correct Personal Protective Equipment (PPE). We recommend safety spectacles, goggles or visors, nitrile rubber gloves, overalls (ensuring skin is not exposed) and a solvent mask or a respirator (if working on larger areas or in confined spaces).
Depending on where you are re-antifouling, you may need to use bunds to collect liquid and solid wastes to prevent them from entering waterways or surrounding ground. You may also need to use suitable tenting to protect those who aren’t on the job. Make sure you understand and follow all local regulations.
Step 2: Inspection

Check for areas of damage, separation or peeling, or any other indications that the existing coating is not firmly adhered to the substrate.
Step 3: Preparation
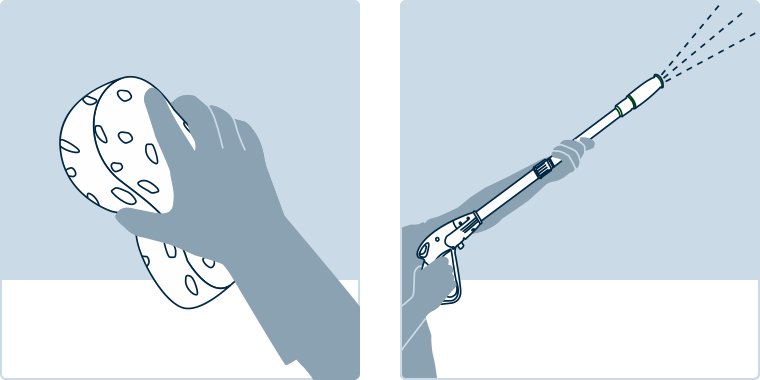
If surface is in good condition
Begin by giving your boat a high-pressure fresh water wash to remove loose antifouling salt and calcium deposits. If you don’t remove this layer it can lead to blistering, delamination or even poor antifouling performance. Once done, the surface should look clean. If you’re unsure, seek advice from your local Paint representative.
Check for compatibility. Continue to Step 5.
If surface is in poor condition
If the majority of the existing antifouling is cracking, peeling or showing signs of detachment from the substrate, it should be totally removed.
Step 4: Masking
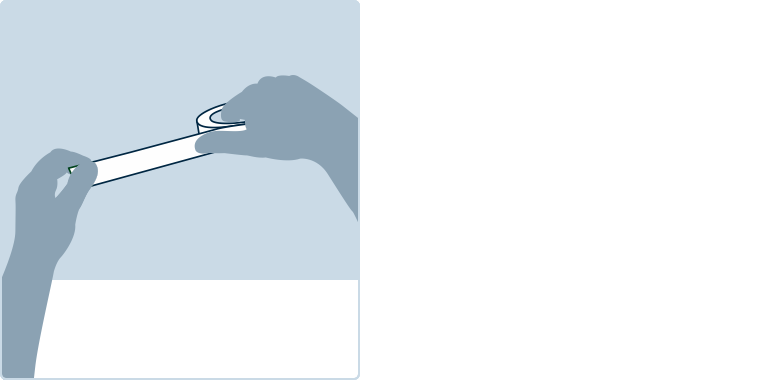
Before priming or applying antifouling, mask off the area to be painted.
Step 5: Repair & priming

Repair any damage with suitable epoxy filler. Inspect GRP hull for gelcoat damage and signs of osmosis – treat accordingly. Prime any filled areas as per primer instructions.
Seal incompatible or unknown antifoulings with a suitable primer.
Bare substrates should be primed accordingly. Product recommendations are provided on labels and datasheets. Remember to pay particular attention to drying times and over-coating intervals.
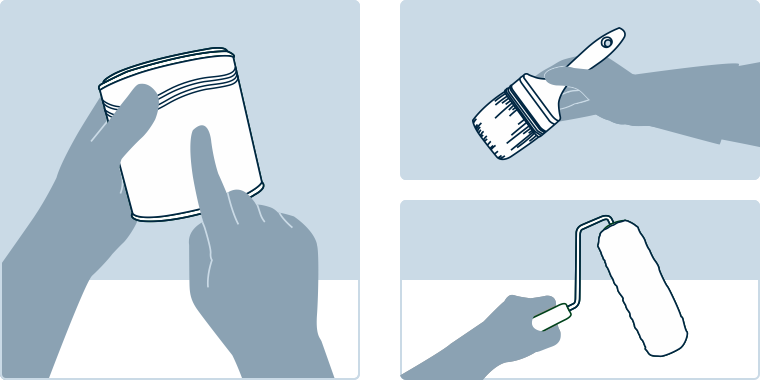
Step 6: Application
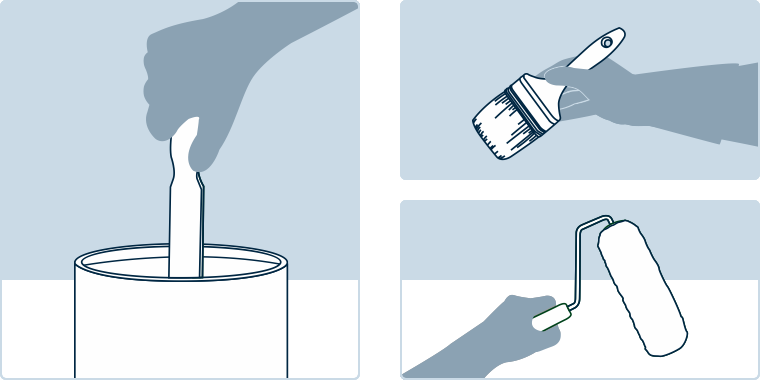
Mix paint thoroughly with a stirring stick, ensuring that any settlement is mixed in. Apply using a brush or roller according to label recommendations.
Apply the antifouling at the correct thickness. This may mean an extra coat is needed depending on application methods and conditions. If you are unable to measure the wet paint film thickness, here’s a tip: after working out your hull area and how much antifouling should be applied, simply make sure you apply all of the antifouling. The reason is that everyone applies paint differently, some more heavily and some lighter. The exact number of coats is less important than applying the correct volume. It is better to apply all the paint than leave some in the tin to be discarded.
Apply an extra coat to the leading and trailing edges; e.g. waterline, trim tabs, outdrives, keels and rudders. These areas experience more water turbulence and in turn more wear on the paint surface.
Follow overcoating times and immersion times carefully. If you don’t it could result in detachment, blistering or cracking of the antifouling. And remember: the marine environment is harsh for paint, so it must be allowed to dry thoroughly before immersion.
Summary
DO
- Prepare the underwater areas correctly
- Make sure they are clean and dry
- Stir paint well before application
- Replace the lid while temporarily not in use
- Apply an extra coat at high-wear areas such as leading edges
- Apply correct quantity of paint. See the datasheet for recommended film thickness
- Re-launch within the specified time period
DON’T
- Apply over salt contaminated surfaces
- Apply over unprepared substrate
- Apply without stirring or mixing
- Apply over/under the recommended spread rate
- Leave original can with the lid off for long periods
- Use dirty brushes or semi-dried roller sleeves
- Recoat or re-launch outside the specified time periods
How much paint do I need?
We'll help you calculate how much paint is needed.
What product do you want to paint
What type of boat?

Full bodied craft
Fin keeled racing craft

Medium draft racing craft
What is the underwater area?
Show Formulations1 x LWL x (B+D) = Underwater Area (m2)
0.5 x LWL x (B+D) = Underwater Area (m2)
0.75 x LWL x (B+D) = Underwater Area (m2)
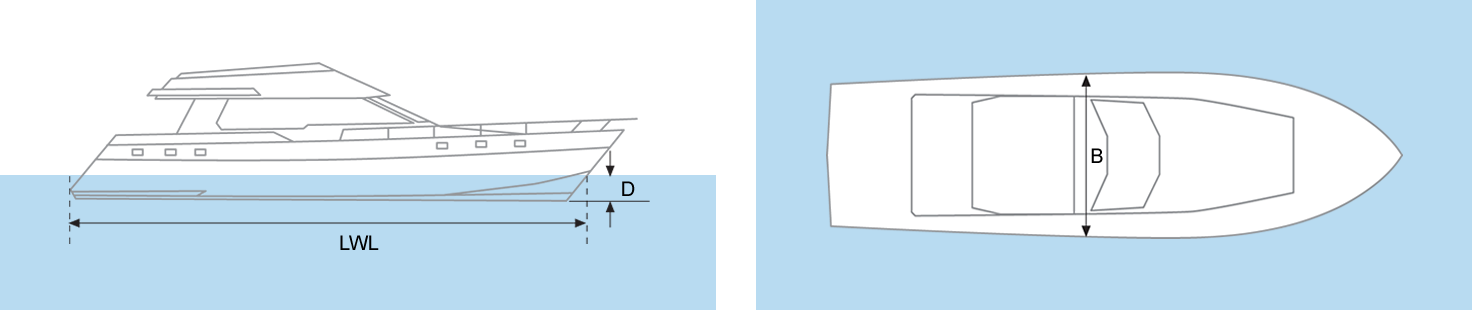

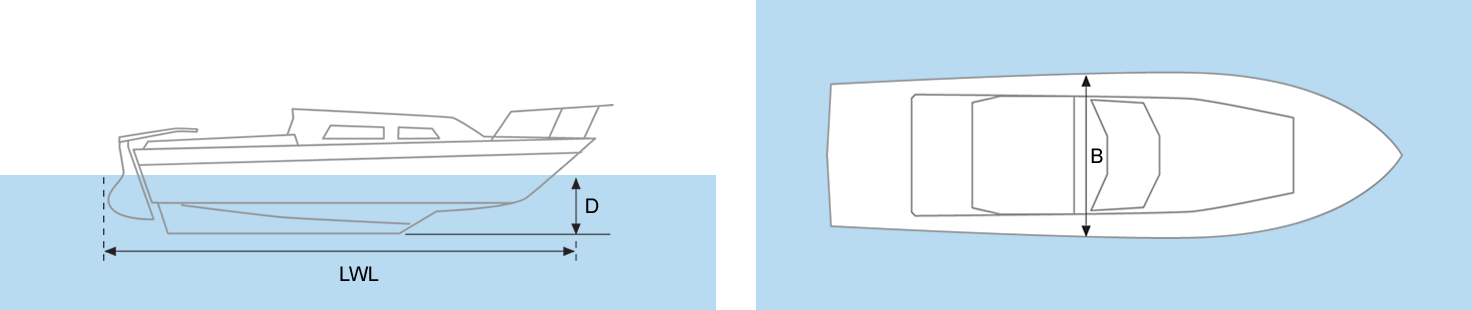
Abbreviations
LOA = Length Overall
LWL = Length Waterline
B = Beam
D = Draft
F = Freeboard
What application method?
Recommended no. of coats: ?
How many coats do you want to apply?
If you put less than the minimum recommended numbers of coats, it may affect the performance of the coating.
To paint a ? x ? x ? ??, with ? coats
You'll need ? litres of
Warning that this tool is an estimator only
View productPaint your boat like a pro
Find the best products to keep your boat in great condition
Get all the support you need to paint with confidence
Benefit from our continuous innovation and scientific expertise